
Converting an unfinished or outdated lower level into functional, beautifully designed square footage represents one of the most lucrative opportunities for modern homeowners. Unlike exterior additions that eat into outdoor yard space and require massive foundation footings, subterranean space already exists within your home’s footprint. However, capturing the full market value of a subterranean build requires far more than putting up drywall and tossing down a rug. Today’s prospective home buyers are highly discerning; they look beyond surface aesthetics to evaluate environmental health, structural integrity, climate comfort, and overall craftsmanship.
When executed with precision, subterranean modernization turns dark, underutilized storage space into high-yield living area—whether that means an executive home office, an independent guest suite, a custom home theater, or a multi-generational living zone. Real estate appraisals value finished below-grade square footage based on quality of construction, moisture mitigation, and seamless integration with the upper floors. To ensure your investment yields maximum equity, you must take a systematic, infrastructure-first approach.
Perform Comprehensive Moisture Diagnostics Prior to Build-Out
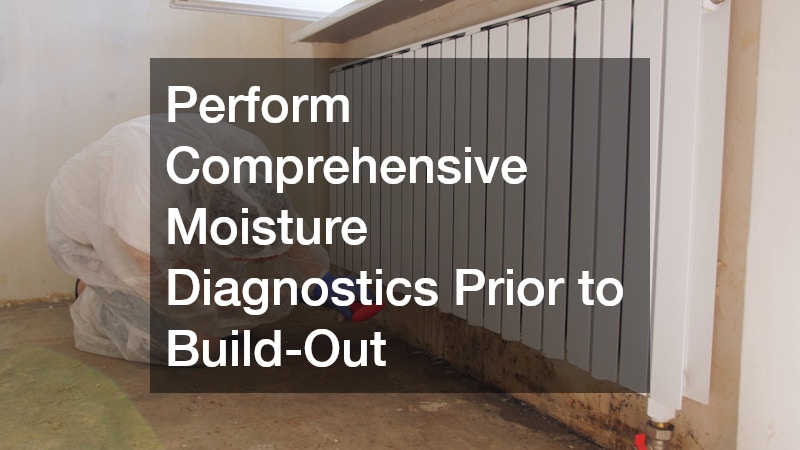
Before a single wood stud is positioned or electrical wire is pulled, you must guarantee that your lower level is completely dry. Concrete is a porous material that naturally absorbs and transfers ground moisture through capillary action. Failing to identify elevated vapor emission rates prior to enclosing foundation walls will trap humidity behind insulation, leading to rot, ruined drywall, and unhealthy indoor air quality.
- Measure Concrete Moisture Levels: Conduct calcium chloride surface tests or install relative humidity probe sensors directly into the concrete slab to measure moisture vapor emission rates before choosing subflooring or framing materials.
- Audit Exterior Perimeter Drainage: Inspect gutter downspout extensions, exterior soil grading slopes, and foundation wall flashings to ensure surface rainwater is directed at least six feet away from the home’s perimeter foundation.
- Schedule Professional Air Sampling: Hire certified specialists to perform mold inspection services across all lower-level zones to detect hidden airborne fungal spores before sealing off structural cavities behind new drywall.
- Inspect Foundation Wall Permeability: Check exterior masonry walls for salt deposits, spalling concrete, or hairline fracture cracks that permit seepage during periods of heavy rain.
Remediate Pre-Existing Organic Growth and Water Intrusion
If diagnostic testing reveals historical water intrusion or microbial presence, cosmetic cover-ups are non-viable solutions. Trapping organic growth inside insulated wall assemblies creates compounding structural damage and creates serious respiratory liabilities for occupants. True property valuation requires documented proof of remediation and long-term water management.
- Install Internal Water Capture Systems: Cut the concrete perimeter to lay interior weeping tile channels connected to a heavy-duty sump pump system equipped with dual battery backups to prevent flooding during municipal power outages.
- Eliminate Existing Microbial Colonies: Retain qualified professionals specializing in mold remediation to scrub exposed floor joists, apply antimicrobial treatments to foundation concrete, and run industrial HEPA air scrubbers until air quality clearance is achieved.
- Apply Continuous Vapor Barriers: Encapsulate raw concrete foundation walls with heavy-duty continuous vapor barriers or spray-applied elastomeric membranes to permanently stop moisture vapor migration into finished living areas.
- Seal Foundation Penetrations: Fill all utility pipe entry points and wall tie holes with expanding hydraulic cement or polyurethane injection foam to block moisture pathways.
Audit Beneath-the-Slab Drainage and Supply Line Integrity
The mechanics beneath your basement slab form the unseen backbone of your home’s plumbing health. Older concrete slabs frequently conceal aging cast-iron waste lines, corroded copper supply pipes, or subtle ground-settling shifts that stress pipe joints. Investing in high-end finishes above a compromised drainage network introduces immense financial risk if subterranean pipes fail later.
- Conduct Sewer Camera Diagnostics: Insert a high-definition video pipe camera down the main waste stack to inspect buried lines for offset joints, tree root penetration, micro-cracks, or severe belly sags.
- Address Subterranean Line Cracks Immediately: Engage specialized technicians to perform targeted slab leak repairs to resolve hidden pressurized water leaks before laying expensive decorative floor coverings or leveling compounds.
- Integrate Auxiliary Floor Drains: Place secondary floor drains with automatic trap primers near water heaters, laundry equipment, and HVAC mechanical closets to handle unexpected appliance overflows safely.
- Test Waste Main Slope and Flow: Verify that subterranean drain lines maintain a minimum slope of a quarter inch per foot toward the municipal sewer tie-in to prevent chronic clogging.
Upgrade Supply and Waste Lines for New Below-Grade Bathrooms
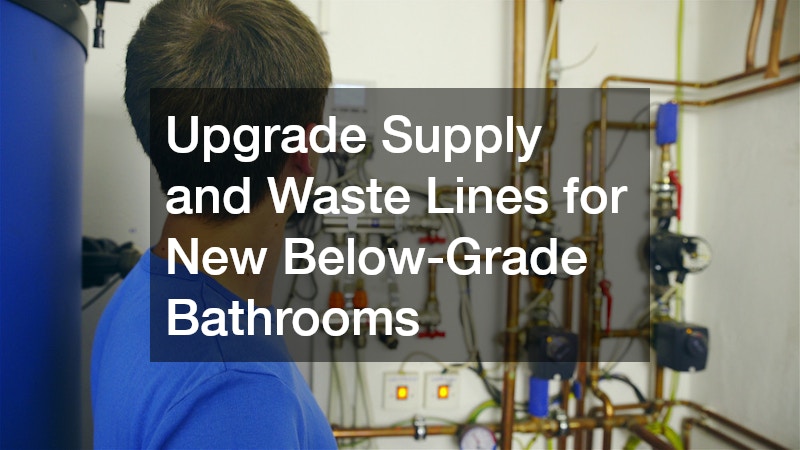
Adding a full or half bathroom to a subterranean project yields a high return on investment, but lower-level plumbing presents unique gravitational challenges. Standard waste lines depend on gravity, whereas basement plumbing often sits below or level with the municipal sewer main, requiring specialized engineering to manage waste and water pressure.
- Hire Licensed Sanitary System Experts: Work alongside master mechanics proficient in residential plumbing to ensure proper vent-stack routing, backflow prevention valve installation, and code-compliant drain slopes.
- Group Plumbing Fixtures Efficiently: Plan new subterranean bathrooms, wet bars, or laundry rooms directly adjacent to existing overhead main supply stacks to minimize concrete trenching and overall labor expenses.
- Install Backwater Prevention Valves: Mount inline backflow check valves on main sewer exit lines to protect subterranean living quarters from city sewer surcharges during flash flooding events.
- Insulate All Domestic Water Lines: Encase exposed hot and cold water supply lines in closed-cell foam pipe insulation to stop condensation dripping and minimize thermal heat loss.
Balance Air Distribution to Prevent Cold Spots and Humidity Stagnation
Subterranean spaces are inherently cooler and damp because they are surrounded by earth that maintains a consistent year-round temperature. Simply cutting a single hole in an existing main-floor air duct will result in a cold, clammy basement and an overworked furnace. A high-value subterranean conversion requires engineered air exchange that accounts for thermal stratification.
- Calculate CFM and Air Exchange Dynamics: Measure total cubic feet per minute airflow requirements specifically for below-grade square footage to ensure adequate supply and return air movement across all enclosed rooms.
- Optimize Return Air Placement: Schedule comprehensive HVAC services to install low-wall return registers that pull heavy, stagnant cool air off the floor and return it to the central heating system for reconditioning.
- Apply Closed-Cell Spray Foam: Specify closed-cell spray foam insulation directly against concrete walls to achieve high R-values while forming a continuous vapor barrier that prevents condensation behind framing.
- Seal All Exposed Ductwork Joints: Apply mastic sealant or foil tape across all supply and return duct seams to eliminate conditioned air leaks before closing in ceiling cavities.
- Install Thermally Broken Wall Framing: Utilize engineered wood studs or metal studs elevated off the concrete floor using plastic track plates to break thermal bridges between cold foundation walls and drywalls.
Install Dedicated Ductless or Mini-Split Systems for Custom Zoning
If your home’s existing primary furnace or air handler is already operating near maximum capacity, forcing it to condition an additional 800 to 1,500 square feet of lower-level space will shorten the system’s lifespan and cause uneven temperature swings throughout the house. Independent climate zoning solves this challenge cleanly.
- Assess Primary Furnace Capacity: Have an technician run a manual load calculation to verify whether your existing system can handle additional air distribution without overtaxing the blower motor.
- Position Multi-Zone Heat Pumps: Consult with certified ac installers to design a ductless mini-split system with multi-directional wall or ceiling cassette units that deliver targeted heating and cooling to individual rooms.
- Choose High-SEER Cooling Equipment: Choose energy-efficient heat pump technology with high SEER ratings to keep ongoing operational electrical costs minimal during summer months.
- Program Smart Thermostat Schedules: Connect mini-split or zoned heating controls to programmable smart thermostats that lower heating outputs during un-occupied hours to maximize efficiency.
Upgrade Panel Capacity to Handle Increased Circuit Demands
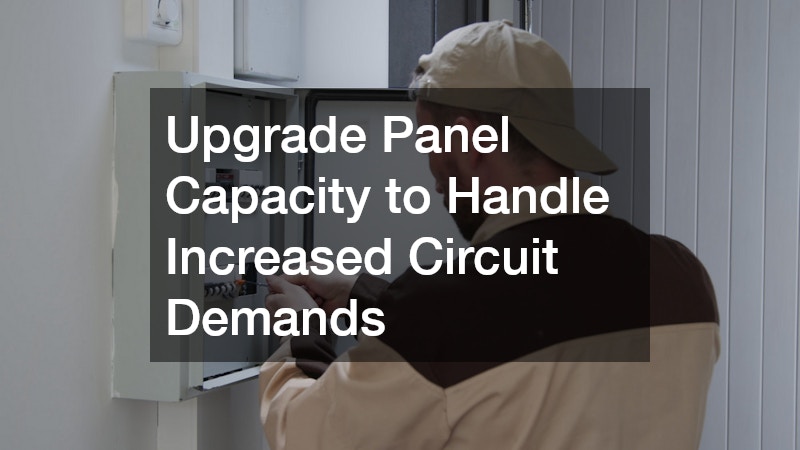
Modern subterranean conversions often house power-hungry amenities like home theaters, wet bar refrigerators, wine cellars, custom saunas, and dedicated home office setups. Running these modern conveniences on an outdated or maxed-out electrical service panel is a major safety hazard and a common dealbreaker during real estate home inspections.
- Calculate Electrical Load Profiles: Perform a full household amperage audit to verify whether your main service panel must be upgraded from older 100-amp service to a contemporary 200-amp or 400-amp panel layout.
- Enlist Master Trade Professionals: Hire a qualified residential electrician to run new arc-fault (AFCI) and ground-fault (GFCI) protected branch circuits in strict compliance with current National Electrical Code standards.
- Mount a Dedicated Sub-Panel: Install a secondary electrical sub-panel within the basement utility room to streamline circuit routing, clean up breaker organizing, and allow simple future additions.
- Distribute Heavy Appliance Circuits: Isolate high-wattage equipment like saunas, wet bar microwaves, and wine cellar coolers on dedicated 20-amp circuits to avoid nuisance breaker trips.
- Install Hardwired Smoke and CO Detectors: Connect interconnected carbon monoxide and ionization smoke alarms throughout subterranean living zones to meet safety code requirements.
Design Layered Recessed and Accent Lighting Environments
Basements suffer from a natural lack of direct daylight, making lighting design one of the most critical elements in turning a subterranean space into an inviting room. Low ceiling heights and exposed overhead ductwork require slim, high-efficiency fixtures arranged in strategic layers to banish shadows and create the illusion of soaring height.
- Eliminate Overhead Shadows with LED Wafers: Space ultra-thin, low-clearance LED wafer lights evenly across traffic zones, choosing color temperatures between 2700K and 3000K to simulate warm daylight.
- Conceal Utility Conduits Smartly: Partner with an established electrical company to route concealed conduit, high-speed data cables, and audio wiring inside ceiling soffits or framed wall cavities before drywall installation.
- Implement Smart Scene Controllers: Install multi-location dimmer switches and app-controlled smart lighting interfaces to transition lighting scenes seamlessly between productivity, relaxation, and movie-viewing modes.
- Add Cove and Under-Cabinet Accent Lights: Integrate concealed LED strip lighting under wet bar counters and inside ceiling drop coves to create depth and visual height in low-ceiling spaces.
- Plan Accessible Cable Management Ports: Run wall-chase conduit behind wall-mounted televisions to hide power cords, HDMI cables, and ethernet lines out of sight behind the wall finish.
Lay Down High-Traffic, Moisture-Impermeable Flooring
Flooring in a lower level must endure harsh conditions: minor slab moisture, cold thermal transfer from the earth, and heavy foot traffic. Traditional solid hardwood should never be installed directly over a concrete slab because it absorbs moisture, swells, and warps. Modern material science offers superior alternatives that provide beautiful aesthetics without structural vulnerability.
- Ensure Slab Flatness Before Installation: Test concrete subflooring for level tolerances, applying self-leveling cement compounds over rough concrete to prevent click-lock floor seams from cracking under foot traffic.
- Contract Specialized Floor Installers: Work with reputable providers of flooring services to install heavy-gauge Luxury Vinyl Plank (LVP) or engineered Stone Polymer Composite (SPC) flooring backed by integrated sound-reducing underlayments.
- Create a Thermal Break: Install floating subfloor panel systems featuring dimpled air-gap membranes underneath floor finishes to raise surface temperatures and cushion footfalls.
- Choose Water-Resistant Trim Materials: Use synthetic PVC baseboards or medium-density fiberboard coated in moisture-resistant seals along perimeter floor edges rather than raw timber trim.
- Test Underlayment Acoustic Ratings: Choose subfloor underlayment membranes engineered with high Impact Insulation Class (IIC) ratings to mute footstep sound transmission to overhead rooms.
Streamline Renovation Workflows with Single-Source Contracting
Managing a major lower-level overhaul requires coordinating framing, electrical, plumbing, insulation, drywall, and custom carpentry trades. Attempting to self-manage these interdependent sub-contractors often leads to scheduling conflicts, missed municipal inspection phases, costly rework, and blown budgets. Single-source management protects both your sanity and your property value.
- Verify Emergency Egress Compliance: Ensure architectural floor plans incorporate code-compliant emergency egress windows or exterior walk-out doors in every closed bedroom or sleeping sanctuary.
- Hire Full-Service General Contractors: Retain a certified, bonded basement remodeling service that manages architectural permitting, trade coordination, material logistics, and building inspections under a unified contract.
- Establish a Contingency Reserve: Set aside a dedicated 10 to 15 percent contingency budget specifically earmarked for hidden sub-grade structural obstacles, unexpected pipe rerouting, or structural post adjustments.
- Schedule Staged Municipal Inspections: Coordinate framing, rough plumbing, mechanical, electrical, and final building inspection sign-offs with local municipal authorities before closing walls.
- Specify Mold-Resistant Drywall Assemblies: Use paperless mold-resistant drywall panels (purple or green board) across all subterranean walls and ceilings to resist airborne humidity absorption.
Transforming an unfinished or underutilized lower level into an elevated, fully integrated living environment is one of the most effective strategies for building substantial equity in your home. By taking an infrastructure-first approach—addressing moisture dynamics, underlying plumbing networks, customized thermal management, upgraded electrical power grids, and resilient flooring materials—you build a space that offers true long-term value.
Cosmetic upgrades may catch a buyer’s eye initially, but high-quality engineering, proper building code compliance, and structural integrity close the deal and command top-dollar appraisals. Take the time to partner with certified trade professionals, plan your room layouts thoughtfully around mechanical systems, and invest in durable, moisture-resistant materials. A well-executed lower-level transformation not only expands your immediate functional living space but also secures a high-return asset for your home’s future market value.
